Stop Screenshotting 3D Models in Blender: Browser Renders
Ditch heavy CAD software: export STL and STEP models as high-res 2D screenshots with dimension lines and transparent backgrounds, right inside your browser.
In the maker community, we hear the same complaint over and over: "I've got a tiny little STL model and just want a quick screenshot for my instruction manual. Why do I have to download a multi-gigabyte Blender install and learn about lighting and vertex manipulation?"
Let's face it—the traditional workflow is brutally unfriendly to anyone who isn't a full-time 3D artist. Import model -> fix normals -> set up camera -> rig three-point lighting -> render -> jump into Photoshop to cut out the background and draw dimension lines... By the time you're done, half an hour is gone. And if you've got hundreds of models to batch-render? That manual grind is an absolute nightmare.
But here's the good news: with modern WebGL and WebGPU hardware acceleration, you can now get a perfect render in 10 seconds flat, right in your browser. It's completely replaced that clunky pipeline for most use cases.
| Core Pain Point | Traditional Modeling Software (Blender/CAD) | Modern Web 3D Screenshot Tools |
|---|---|---|
| Learning Curve | Multi-GB install, steep learning curve | Open a webpage, drag-and-drop, done |
| Dimension Lines | Manually draw lines, cross-check values, error-prone | Auto-reads bounding box, generates engineering-grade annotations |
| Transparent Background | Need to configure render passes, composite in post | One-click alpha channel (PNG export) |
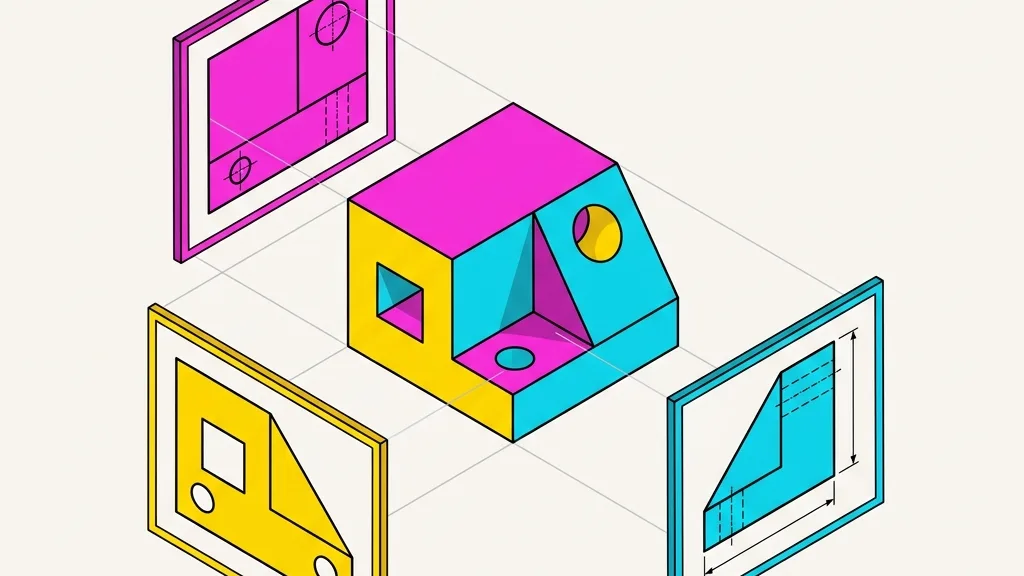
| Multi-View Layouts | Create multiple cameras, render separately, stitch in Photoshop | Built-in horizontal, vertical, and orthographic three-view presets |
| Render Speed | Wait for local ray tracing | Real-time offscreen supersampling using your GPU—nearly instant |
Do We Really Need "Perspective"?
When it comes to screenshots, the biggest rookie mistake is getting the projection wrong. Pick the wrong camera mode, and your image is useless:
- Orthographic Projection (Recommended for Engineering Drawings): This mode forcibly eliminates the "near objects are bigger" rule of real life—parallel lines stay parallel, period. If you're showing strict physical dimensions in a patent filing, assembly diagram, or doing any kind of measurement verification, you must use orthographic view. Otherwise, your model will look like it's about to tip over.
- Perspective Projection (Recommended for E-commerce): This mimics what your eye actually sees. For Amazon main images or product posters, perspective gives your model more punch and volume. Crank up the FOV (field of view), and you get some serious visual drama.
Say Goodbye to Photoshop—These Features Are Already Built Into the Web
1. Automatic Bounding Box & Dimension Lines
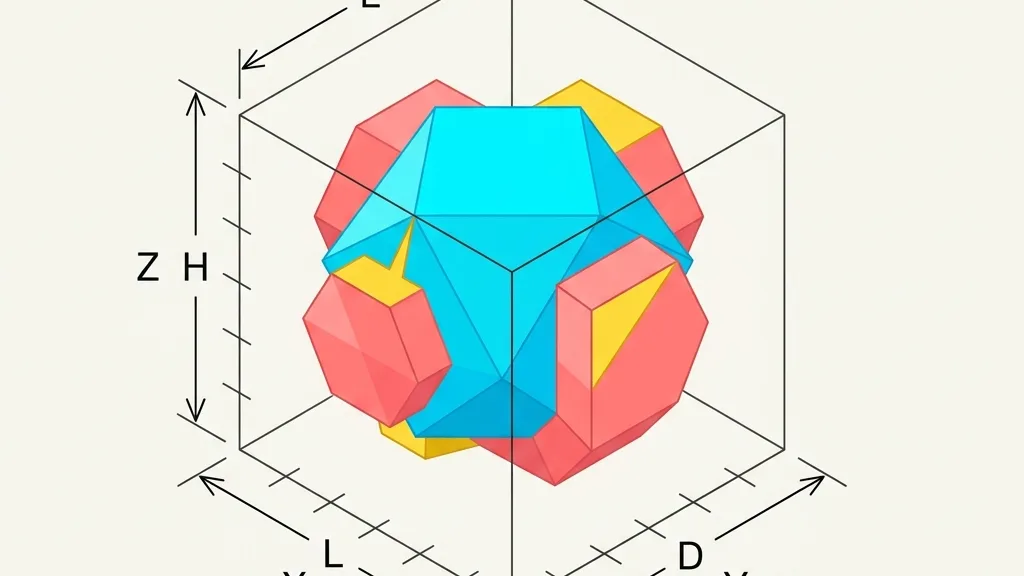
Manually measuring dimensions is tedious and prone to crooked lines. Online tools grab the extreme coordinates of your 3D geometry (the bounding box) and use engines like Three.js to calculate everything precisely—then auto-generate dimension lines with arrows and values. You can even toggle between millimeters and inches on the fly. For anyone running a 3D printing service or dealing with mold drawings that demand tight tolerances, this is an absolute must-have.
2. Background Removal Savior: Alpha Channel
The most annoying thing about making product banners? White backgrounds. The magic wand tool always leaves those jagged, fuzzy edges. Now you can just set the background to fully transparent, leverage the WebGL render pipeline's alpha channel, and export a native PNG with transparency baked in. Drop it straight into PowerPoint or Figma, and it blends seamlessly with your layout. Pro tip: If your model has semi-transparent glass materials, exporting a transparent PNG can cause alpha blending artifacts between front and back layers (a classic WebGL depth-sorting headache). For glass parts, stick with a solid-color background JPG, or disable material transparency in the render settings.
3. Ambient Lighting & PBR Rendering
Don't think web screenshots are just flat "gray models." Modern Web 3D viewers universally support physically-based rendering (PBR). By loading a high dynamic range HDR environment map (HDRI), the browser can simulate realistic metal reflections and global illumination. Compared to painstakingly setting up three-point lighting in Blender, the web version usually just needs you to swap a few built-in environment presets—and the quality instantly jumps to pro level.
4. Beyond Your Screen's Limits: Ultra-High-Res Rendering
Browser mechanics normally cap screenshot resolution at your monitor's specs. But with OffscreenCanvas offscreen rendering, you can force a 4K-level industrial-grade image even on a 1080P ultrabook (with 2x / 4x hardware supersampling).
Performance warning: For massive models over 100MB, enabling 4x rendering on mobile Safari is a recipe for GPU memory overflow and a crashed tab. For heavy lifting like that, stick to Chrome or Edge on a desktop.
Hands-On: The 10-Second Render Workflow
- Open the Any3D Model-to-Image Tool in your browser.
- Drop your model in (STL, OBJ, STEP, STP, GLB—all supported).
- Pick your layout (close-up or three-view), check the "Dimension Lines" box, and toggle transparent background as needed.
- Choose your scale (2x is plenty for everyday use), and hit download.
For the most common formats, you can also use the quick links: STL to Image or STEP to Image. All parsing and rendering happens on your local GPU—your files never touch any server, so enterprise projects don't have to worry about core design data leaking.
For anyone who regularly has to send 3D models to clients who don't know a polygon from a pixel, mastering quick web-based rendering will absolutely level up your work-life happiness.