STEP to Image

STEP/STP → multi-view screenshots for engineering and product previews.

Workspace

Loading...

Please wait

About This Tool

Convert STEP/STP to static images for display, documentation, and sharing. Suitable for CAD engineering multi-view and orthographic screenshots. Supports multi-view layouts and annotations.

Tips

  • 1Suitable for CAD engineering multi-view and orthographic screenshots
  • 2Multi-view and 1×/2×/4× export
  • 3Optional transparent background PNG

About Configuration Options

Layout

View Layout

DefaultHorizontal four-up

Choose multi-view arrangement: horizontal four-up, vertical four-up, or a custom set of views and columns.

Horizontal four-upRecommended

Front, right, top and perspective in one row (1×4).

Vertical four-up

Front, right, top and perspective in one column (4×1).

Custom

Pick views and column count for a custom grid.
Custom views

When using custom layout, choose which camera directions to include.

Columns

Default3

Range1 – 5

Number of columns in the custom grid (1-5, capped by selected view count).

Margin & spacing

Margin

Default0.012

Range0 – 0.1 · step 0.005

Outer margin around the board as a fraction of the short edge.

Gap

Default0.012

Range0 – 0.05 · step 0.002

Spacing between viewports as a fraction of the short edge.

Margin background

Default#ffffff

Fill color for the margin area; transparent is allowed (falls back to white for JPG).

Image background

Viewport background

Default#f5f5f5

Background for each 3D viewport; pick a color or transparent (alpha kept for PNG/WebP).

Dimensions & unit

Show Dimension Lines

DefaultOff

Display bounding box dimensions in the selected unit.

OffRecommended
On

Unit

Defaultmm

Unit

mmRecommended
cm
m
in

Watermark

Show Watermark

DefaultOn

Show Watermark

OnRecommended
Off

Title text

Defaultany3d.cc

Watermark title text (default any3d.cc).

Custom icon

PNG, JPG, WebP or SVG up to 5MB; auto-resized for watermark

Position

DefaultBottom-left

Corner placement of the watermark on the board.

Bottom-leftRecommended
Bottom-right
Top-left
Top-right

Size

Default0.08

Range0.04 – 0.3 · step 0.005

Watermark size as a fraction of the board short edge (~0.04-0.3).

Opacity

Default0.8

Range0.2 – 1 · step 0.05

Watermark opacity (0.2-1).

Export

Image Format

DefaultPNG

Image Format

PNGRecommended
JPG
WebP

Resolution Scale

Default1x

Resolution Scale

1xRecommended
2x
4x

Format Information

Input format

Extension:
step, stp
Full Name:
STEP (Standard for the Exchange of Product Model Data)
Type:
CAD Model
Format:
STEP
Description:
STEP (ISO 10303) is an international standard for CAD data exchange, preserving precise geometry with NURBS and solid modeling. Widely used in mechanical design and manufacturing, it retains parametric features and assembly structures, unlike mesh formats (STL/OBJ), enabling lossless transfer between CAD software. STEP suits engineering precision, not real-time rendering. Browsers and game engines require conversion to mesh. Recommended workflow: design in CAD, export STEP for archiving, then convert to STL/GLB for preview or printing. .stp and .step are identical variants.

Notes:

  • CAD software required for editing parametric features
  • Not suitable for real-time or web rendering

Supported Features:

  • ISO-standard CAD exchange format
  • Precise parametric surface modeling
  • Widely supported by CAD/CAM/CAE software
  • Suitable for engineering and manufacturing

Output format

Extension:
Image
Full Name:
PNG / JPG / WebP Image
Type:
Image / Screenshot
Format:
Raster Image with Layout Overlay
Tools:
GIMP
Open With:
System Image Viewer
Description:
Multi-view or single-view screenshot of the 3D model with dimension lines, watermark, and custom backgrounds. Exported as PNG, JPG, or WebP.

Notes:

  • PNG supports transparency
  • Resolution can be scaled to 2x or 4x

Supported Features:

  • Multi-view layouts
  • Dimension lines with units
  • Watermark overlay
  • Transparent background
  • PNG, JPG, WebP export

How to Use

1

Upload Model

Drag and drop your STEP file into the upload area, or click to browse

2

Select View

Choose landscape, portrait, or custom layout. Toggle dimension annotations, units, and watermark

3

Export Image

Download PNG, JPG, or WebP images at 1x, 2x, or 4x resolution

Frequently Asked Questions

View all FAQs
Q

Does STEP need meshing, and how accurate are screenshots?

A

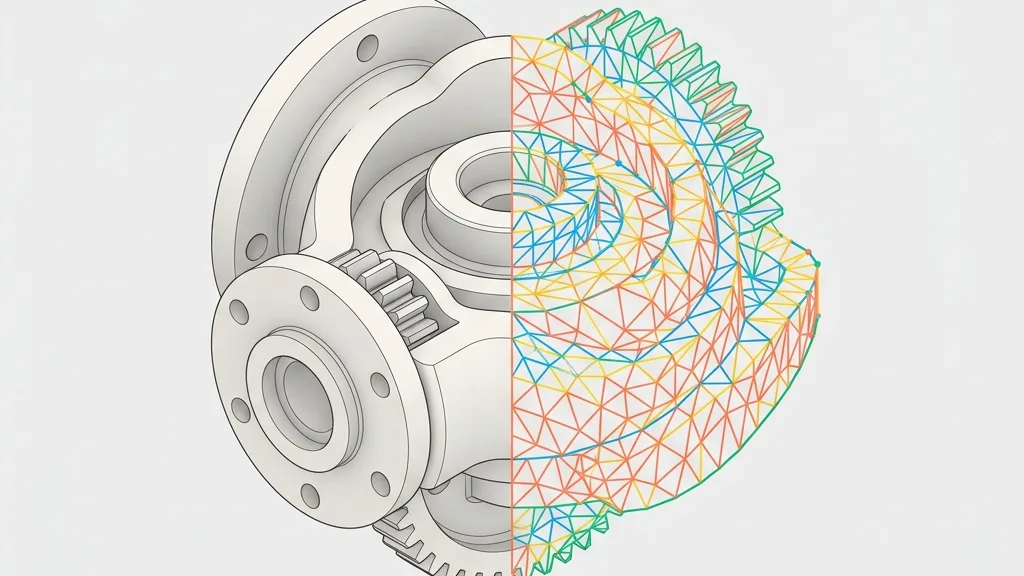
Yes. The browser renders triangle meshes, so curves and surfaces are tessellated. That is usually clear enough for engineering previews; for ultra-precise drawings, export from CAD.

Q

Can I create engineering three-view or orthographic shots?

A

Yes. Use front/side/top orthographic viewports (horizontal or vertical four-up layouts) without perspective distortion: ideal for part notes, catalogs, and quote attachments.

Q

Are CAD color attributes preserved?

A

If the STEP file stores colors, they are kept as much as possible. Many STEP files are geometry-only and use default shading. Full CAD display styles and layers are not reproduced.

Q

Is it suitable for part catalogs or quote previews?

A

Yes. Add dimension labels, adjust backgrounds, and export PNG/JPG/WebP at 1×/2×/4× for catalogs, email quotes, and collaboration: not a substitute for formal engineering drawings.

Q

Why not just take a screenshot in my CAD viewer?

A

This produces a clean composed image - multi-view layouts, optional dimension labels and watermark, and 1×/2×/4× export - without viewport grids or interface clutter. It is ready for quotes, documentation, and sharing.

Q

Can I hide individual parts in an assembly to show just one?

A

No. The whole model renders as one scene and there is no per-part visibility control. To isolate a part, export it separately from your CAD application first.