Type
DefaultImage
Choose an image decal or a text decal. Images work well for logos; text suits labels and signatures.
Upload PNG, JPG, or WebP (transparent PNG recommended).
Enter text, then adjust size and color before placing.
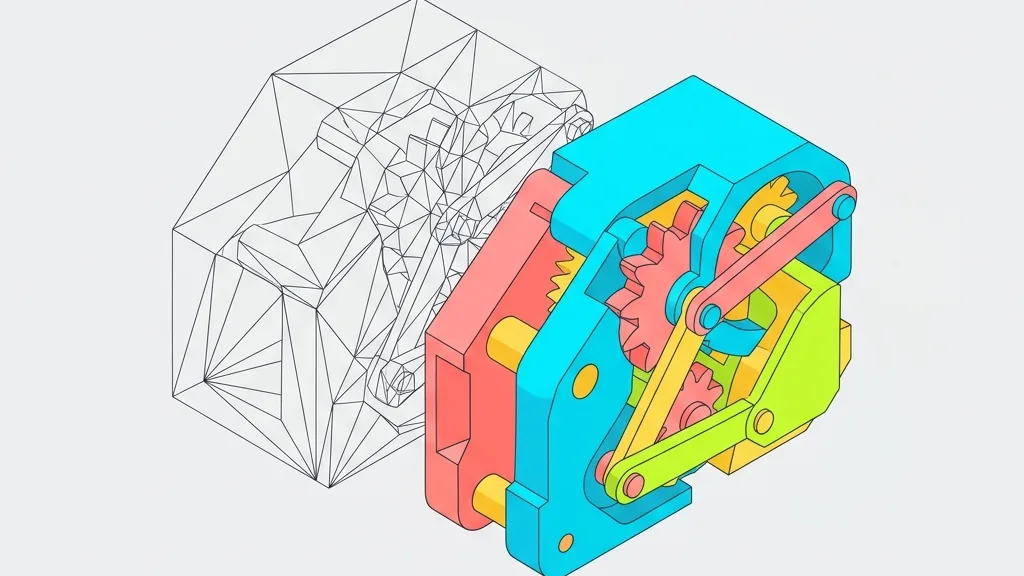
3MF color-print branding: place logos or text with surface wrap and keep color info for modern slicers, 3MF in, 3MF out.
Please wait
This tool is for adding image or text decals to 3MF models whenever a brand mark needs to survive into a color-print workflow. Decals conform to curved surfaces, trim at sharp edges, and stay as textured layers inside the 3MF so slicers can preview color. Export remains 3MF, with no forced conversion to GLB. For the best result, use slicers and printers that understand 3MF color and texture, such as Bambu Studio, PrusaSlicer, or OrcaSlicer.
DefaultImage
Choose an image decal or a text decal. Images work well for logos; text suits labels and signatures.
Upload PNG, JPG, or WebP (transparent PNG recommended).
Enter text, then adjust size and color before placing.

In image mode, upload the sticker artwork. Transparent PNG looks best on curves and sharp edges.
In text mode, type the words you want to place on the model surface.
Default64px
Range24px – 160px
Font size in the text texture canvas (pixels). Larger sizes look sharper but use more texture space.
Default#ffffff
Fill color of the text decal. Works well with a transparent background.
DefaultOn
Snap decals to model keypoints within the tolerance radius.
DefaultOn
While dragging, align to the model bounds, center planes and other decal centers, showing guide lines.
DefaultOn
Snap to the nearest vertex.
DefaultOn
Snap to the nearest edge midpoint.
DefaultOn
Snap to the center of triangle faces.
Default1
Range0.001 – 1000 · step 0.01
Snap search radius, relative to the model size. Larger values make it easier to hit keypoints.
After preparing a decal, click the model surface to place it. Drag empty space to orbit the view.
Select a decal and drag the center handle. It slides along the surface and can wrap to the other side.
Default0.18
Range0.05 – 0.6 · step 0.01
Drag the scale handles after selecting a decal. Size is relative to the model bounding-sphere radius, with a default initial value and editable range.
Drag the ring handle to spin around the surface normal. Snaps to 90° by default; hold Shift for free rotation.
Each decal exports as a separate mesh layer without modifying original textures. Select, hide, or delete them individually in Blender and similar apps.
Drop a 3MF model onto the page or select it manually. The file never leaves your browser.
Upload a logo image or type text and choose its font size and color.
Click the model surface to place the decal, then refine its position, scale, and rotation.
Download the 3MF with decal textures retained, ready for slicer color preview and printing.
Yes. Both the input and output are 3MF, so nothing is forced through GLB. Decals stay as textured layers inside the 3MF so slicers can preview color, and each decal can be fine-tuned independently.
Yes for workflows that rely on 3MF color and texture. The final result depends on how your slicer and printer handle multi-color output, so check their 3MF support first.
Yes. Start by placing one decal on the model surface, then keep adding more. Position, size, and rotation are adjustable per decal, and every decal is kept as an independent layer in the exported 3MF.
Yes. Decals project along the curved surface and auto-trim at sharp corners, giving a result close to a real sticker. On continuous shapes like cylinders and spheres, the wrap looks natural without stretching artifacts.
Yes. Transparent areas are preserved, so the model surface shows through wherever the artwork is empty. Use a transparent-background PNG for logos without a solid backing plate.
Use GLB decal for web/AR textured stickers and DCC workflows. Choose 3MF when slicer multi-color preview matters more. True embossed STL branding is planned as a separate tool.